Att Trimline 265 User Manual
Browse online or download User Manual for Phones Att Trimline 265. AT&T Trimline 265 User Manual
- Page / 36
- Table of contents
- BOOKMARKS
- USER’S MANUAL 1
- TABLE OF CONTENTS 3
- SAVE THESE INSTRUCTIONS 5
- Interference Information: 6
- Part 15 of FCC Rules 6
- Limited Warranty 7
- SERVICE? 8
- THER LIMITATIONS 8
- PARTS CHECKLIST 10
- BEFORE YOU BEGIN 11
- INSTALLATION 12
- TELEPHONE OPERATION 16
- FEATURE SETTINGS 19
- TELEPHONE MEMORY 27
- CALLER ID OPERATION 30
- IN CASE OF DIFFICULTY 34
Summary of Contents
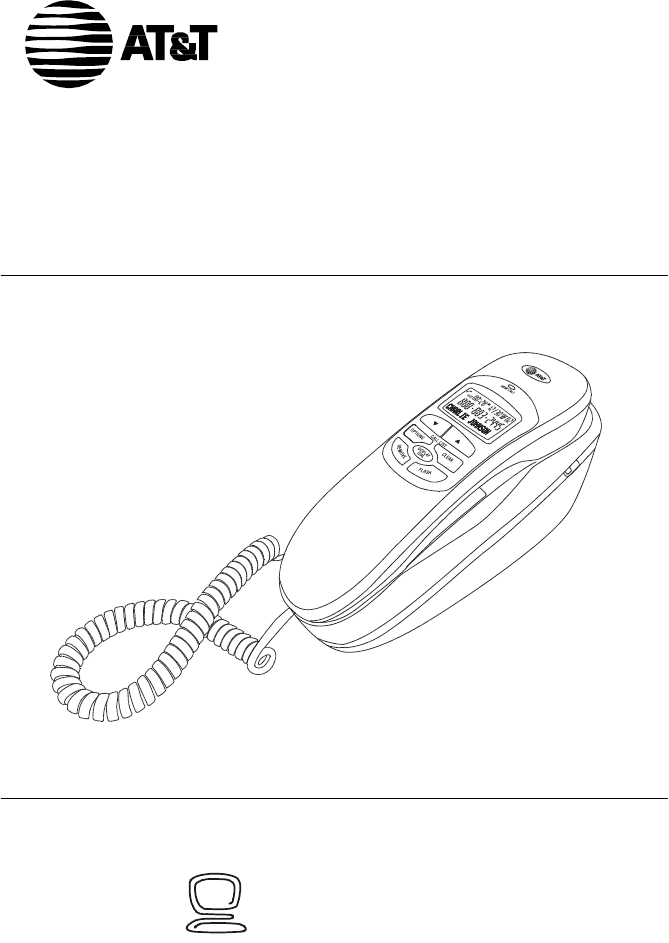
USER’S MANUAL TRIMLINE® Caller ID Telephone 265 © 2006 Advanced American Telephones. All Rights Reserved. AT&T and the
7 PARTS CHECKLIST Remember to save your sales receipt and original packaging in case it is necessary to ship the telephone for warranty service. C
8 BEFORE YOU BEGIN This product meets the applicable Industry Canada technical specifications. About Caller Identification (Caller ID) This produ
9 INSTALLATION Battery Installation This telephone requires four AA batteries (not included) in order for the caller ID with call waiting, memory
10 INSTALLATION Telephone Installation Wall-Mount Installation 1. Make sure mounting adapter is attached to the bottom portion of the set, so th
11 INSTALLATION Desktop Installation 1. Remove the mounting adapter from the telephone base by pressing down with your thumbs as indicated by the
12 INSTALLATION Handset Installation 1. Plug one end of the handset coil into the jack on the side of the telephone base. 2. Plug the other end o
13 PAUSE/REDIALTo insert a dialing pausewhen storing numbers in thememory or dialing, pressPAUSE/REDIAL once toinsert a 3.6 second pause in thediali
14 TELEPHONE OPERATION Handset Operation CLEARPress to exit dialing, toexit storing a number inmemory, to exit the calllo
15 TELEPHONE OPERATION Telephone Base RINGER Volume Adjust the volume of the telephone ringer. If it is set to OFF, this telephone will
16 FEATURE SETTINGS Feature Settings Summary NOTE: The features are listed in the order they appear when the telephone is initially set up. The ord
17 FEATURE SETTINGS Language Selection You can select English, Spanish, or French as the language in which all your options are displayed. 1. Whe
18 FEATURE SETTINGS Set Contrast The contrast of the screen can be adjusted to an appropriate level to suit the lighting of the environment for bet
19 FEATURE SETTINGS Set Home Area Code (HAC) Home area code is the area code associated with your telephone number. It is necessary to program a ho
20 FEATURE SETTINGS Set Local Area Codes (LACs) Local area codes are area codes associated with other telephone numbers for which you must dial the
21 FEATURE SETTINGS Set Time/Date This feature sets the time and the date displayed on the screen when the telephone is in idle mode. 1. After s
22 FEATURE SETTINGS Call Waiting Set the kind of subscribed call waiting service from your service provider: NOTE: If you subscribe to combined c
23 FEATURE SETTINGS Set Tone/Pulse When your telephone left the factory, the dial mode was set to tone. If you do not have touch tone dialing servic
24 Storing Numbers in Memory 1. Lift the handset. 2. Press and release PROG. 3. Dial the telephone number (up to32 digits) or press PAUSE/REDIAL to st
25 TELEPHONE MEMORY Two-Touch Dialing from Memory 1. Lift the handset. 2. Press and release MEMORY. 3. Press the nu
26 TELEPHONE MEMORY Directory Card Lift the plastic cover off the directory to write the names or numbers stored i
TABLE OF CONTENTS IMPORTANT PRODUCT INFORMATION························ 1 Safety Information························· 1 SAVE THESE INSTRUCTIONS··· 2
27 CALLER ID OPERATION Removing Call Records From Call Log Removing a Specific Call Record 1. Press S or T to display the call record to
28 CALLER ID OPERATION About Caller Identification When the first call is received, the telephone sets the current time and date automatically, and
29 CALLER ID OPERATION Setting Options Review Call Log The screen displays call information for about 10 seconds after it has beenreceived.
30 CALLER ID OPERATION Display Screen Messages Screen Displays: When: PRIVATE The caller is blocking the name information. PPP The caller is blo
31 IN CASE OF DIFFICULTY If there are problems operating this telephone, try the suggestions below. For Customer Service, visit our website at www.
32 IN CASE OF DIFFICULTY Screen is blank • Ensure the telephone handset coil is properly and securely connected to the handset and the telephone b
33 Visit us at www.telephones.att.com © 2006 Advanced American Telephones. All Rights Reserved. AT&T and the Glob
1 Safety Information This symbol is to alert you to important operating or servicing instructions that may appear in this user’s manual. Always fo
2 SAVE THESE INSTRUCTIONS FCC and ACTA Information If this equipment was approved for connection to the telephone network prior to July 23, 2001, it
3 required to notify you before interrupting service. If advance notice is not practical, you will be notified as soon as possible. You will be given
4 — If this telephone product runs on AC power, plug your product into an AC outlet that’s not on the same circuit as one used by your radio, VCR o
5 b PRODUCT that has been damaged due to repair, alteration, or modification by anyone other than an authorized service representative of AAT; or c
6 other express warranties. No one is authorized to make modifications to this limited warranty and YOU should not rely on any such modification. Stat
Related products and manuals for Phones Att Trimline 265
 (24 pages)
(6 pages)
(8 pages)
(18 pages)
(43 pages)
(31 pages)
(74 pages)
(101 pages)
(54 pages)
(4 pages)
(18 pages)
(41 pages)
(6 pages)
(8 pages)
(8 pages)
(77 pages)
(2 pages)
(143 pages)
(32 pages)
(24 pages)
(6 pages)
(8 pages)
(18 pages)
(43 pages)
(31 pages)
(74 pages)
(101 pages)
(54 pages)
(4 pages)
(18 pages)
(41 pages)
(6 pages)
(8 pages)
(8 pages)
(77 pages)
(2 pages)
(143 pages)
(32 pages)
© 2020, manymanuals.com. All rights reserved. | 2.707 s |
 Manymanuals.com
 Manymanuals.de
 Manymanuals.fr
 Manymanuals.it
 Manymanuals.pl
 Manymanuals.cz
 Manymanuals.es
 Manymanuals-pt.com
Comments to this Manuals